


As we know, fixed wifi is one of the high-speed and more stable internet services available. There are many providers with various types of fixed wifi, but Biglobe fixed wifi remains a top choice for many users. Why is Biglobe fixed wifi so popular? Let's explore Biglobe, how to register, make payments, and install it!
Biglobe Fixed Wifi Rates
For those interested in registering for Biglobe's high-speed fixed wifi, cost is likely a major concern. Below are some mandatory fees you need to pay when registering for Biglobe fixed wifi.
Registration Fee:
- The registration fee is 3300 yen (including tax).
Monthly Fees:
- Apartments/Condominiums: The monthly fee is 3980 yen.
- Private Houses/Families: The monthly fee is 4980 yen.
Contract Term and Cancellation Fee:
- Contract Term: 36 months.
- Early Termination Fee: 11900 yen (excluding tax).
Note:
- If you need to move houses, it is recommended to transfer the network to the new location rather than cancel it, as the provider will support the move for free. After the contract term, you can cancel the service and re-register to receive more installation benefits.
Things to Know When Installing Fixed Fiber Optic Wifi
Guide to Self-Registration, Payment, and Installation
People often think that registering for fixed wifi is time-consuming due to the complex procedures and multiple verification documents. However, you can easily self-register, make payments, and install Biglobe fixed wifi with just a few simple steps.

Registering for Fixed Wifi in Japan
Biglobe Wifi Registration Process
Step 1: Register online directly with the provider via the website: [https://join.biglobe.ne.jp](https://join.biglobe.ne.jp)
Step 2: Wait to receive a confirmation call from the provider.
Step 3: Receive documents, contract, and payment registration form from the provider.
Step 4: Check and confirm the contract again. If there is any misinformation, immediately notify the provider for corrections.
Step 5: Fill in all the information for the payment procedure, put it in the envelope provided by the provider, and send all documents back to them.
Step 6: Confirm the installation date and time with the provider. Note that if you choose a weekend or holiday for installation, there will be an additional fee of 3000 yen.
Step 7: Install and start using the service in your home.
Registering Payment Procedure
Step 1: First, check the registration status of your chosen payment method.
Step 2: Register and change the payment method to suit your needs.
Note:
- You can choose to register for online payment via bank account or credit card, or register via mail at a post office near you.

Payment Methods in Japan
Installing Biglobe Fixed Wifi
For addresses with existing fiber optic sockets:
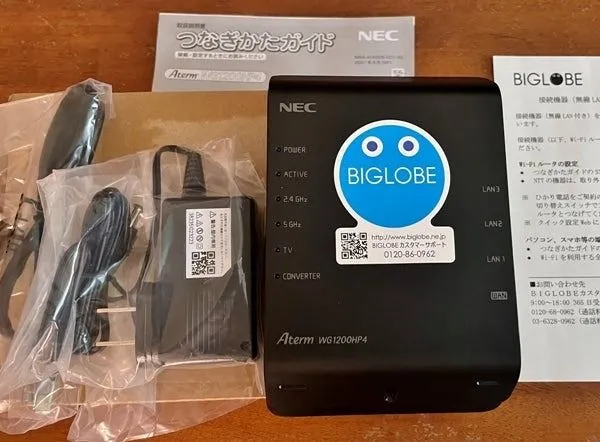
- After registration, the provider will send you the equipment along with detailed installation instructions. Follow the instructions to install the equipment and start using the service.
For addresses without existing fiber optic sockets:
- The provider will still send you the equipment along with a notice of the installation wait time. Check the installation schedule and wait for the provider's personnel to contact you and install the equipment. Once installed, you can start using Biglobe fixed wifi.
With the above information compiled by HALLO, we hope you will have a great experience using the internet service in Japan. If you have any questions about the service, please refer to additional information at hallo.co!


Comment (0)